This Jell-O is more like a dessert than a side dish, but we always have it as a sweet side for Thanksgiving or special Sunday dinners. It takes a bit of time to make, but it’s deliciously like a cheesecake. And oddly enough, the best part of it is the buttery pretzel crust.
Usually for Thanksgiving, we make the crust the night before and the rest of it on Thanksgiving morning (so the crust doesn’t get soggy and the Jell-O doesn’t soak down into the filling).
If you’re making this gluten free, make sure to use gluten free pretzels.
Make it a meal with:
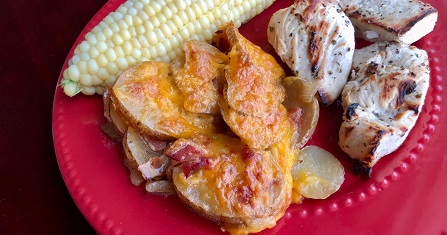
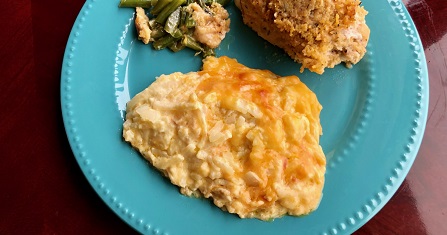
- Turkey, Parmesan Ranch Chicken, or Roast Beef
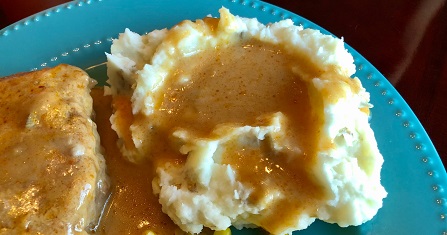
- Mashed Potatoes or Baked Potatoes
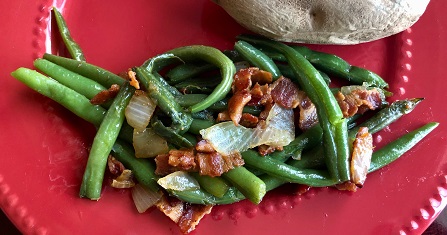
- Green Beans and Bacon
Raspberry Pretzel Jell-O

A sweet, cheesecakey side for special occasions.
Ingredients
Crust
- 2 c. crushed Pretzels (or crushed gluten free pretzels)
- 3 Tbsp. Sugar
- 3/4 c. melted Butter
Filling
- 8 oz. Cool Whip
- 1 c. Sugar (powdered sugar makes less grainy)
- 8 oz. Cream Cheese, room temperature
Top Layer
- 2 c. boiling Water
- Large box of Raspberry Jell-O
- 20 oz. frozen Raspberries
Directions
Crust: Mix all ingredients and press into a 9×13 pan, and bake for 8 minutes at 400°. Allow to cool.
Filling: Whip together all ingredients and gently spread over cooled crust, being careful not to incorporate crumbs into filling.
Top Layer: Pour boiling water into Jell-O powder and whisk until dissolved. Mix in frozen raspberries, then let thicken slightly in fridge (just a few minutes or it will set completely). Pour over cream cheese layer. Refrigerate until completely set.