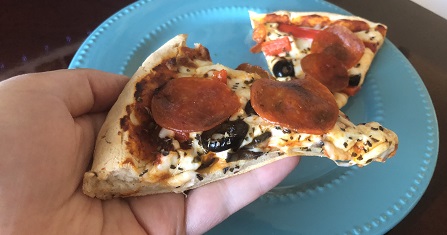
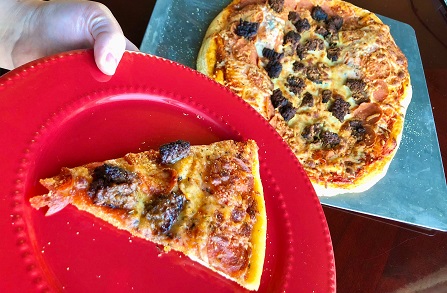
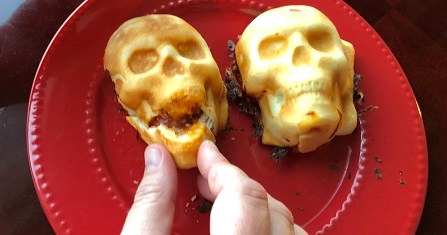
You may have seen the videos on social media where they have a dough skull and they pull open the mouth to reveal a sausage ball surrounded by cheese–like its brains! It looked perfect for Halloween, so I splurged and bought the skull pan. We enjoyed it so much that I bought another one so I could make gluten free skulls too. So before you attempt this recipe, buy the pan here–and don’t wait until October because it’s often sold out. The original recipes call for sealing the skulls with dough on the bottom, like a calzone. But we learned that it gets really bready if you do that. So we just fold over the corners a little and top it with cheese. It holds together and is more enjoyable than eating tons of bread. This is what the bottom looks like when you do that. When we let the girls make their own skulls, we’ll mark each one with an indicator, like Marilyn’s has a pepperoni slice.

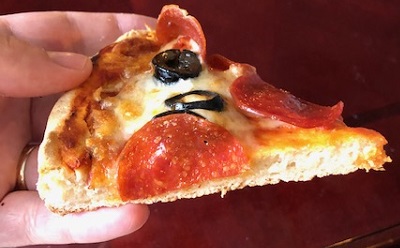
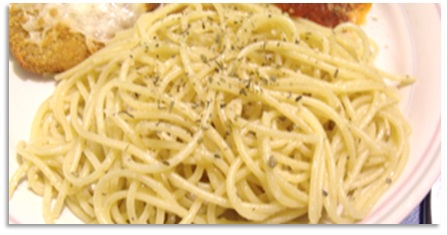
If you’re making it gluten free, I generally use the easy gluten free pizza dough recipe. The dough always makes much more than needed, so I make a small pizza to go along with it. I’ll spray the skull pan, then I’ll use my fingers to spread the dough as thin as possible in the skull cavities without causing holes. You want it very thin because you’ll blind bake it for a few minutes, and it’ll puff up a bit, which takes up precious space for toppings. And of course I top it with more cheese instead of more dough. I have done it with dough, but you have to bake it separately and then put it on top of the toppings, which is annoying. The crust is a little crunchier than regular pizza dough, but it’s still fun and you still get definition in the skull’s face. Here’s what the gluten free version looks like.

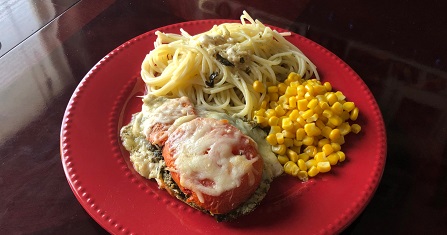
Make it a meal with:
- Green Salad or Grapes
- Root Beer
Pizza Skulls
Ingredients
- Nordic Ware Haunted Skull Cakelet Pan
- 1 can Refrigerated Pizza Dough
- 8 oz. + Shredded Mozzarella or Pizza Cheese
- 1 jar Pizza Sauce
- 1 lb. Italian Sausage, cooked and crumbled
- Pepperoni
- Other toppings as desired, such as ham, pineapple, olives, peppers, or basil
Directions
Preheat the oven to 400° and spray the pan. Unroll the pizza dough and cut it into 6 rectangles about 3.5 inches wide for each. For each skull, lay a dough piece into a cavity in the pan. Sprinkle about a tablespoon of cheese on the bottom (if you put sauce first, it’ll soak through the dough). Then add toppings as desired, 1-2 Tbsp. of pizza sauce, and fold the corners of the dough over the toppings. Sprinkle with more cheese to seal everything in, and sprinkle with basil if desired. Bake for 20 minutes or until golden. To remove the skulls, place a cutting board or platter over the cooked bottom of the skull pan. Then invert the pan while holding the cutting board against it, and the skulls should easily slide out.