Pan-seared salmon is great if you’d like a little bit of crust on your salmon or if you’re trying to make it really fast. The baked one goes pretty fast too, but we generally opt for the pan-seared one lately. Just make sure to press out extra water from the salmon so it sears better.
And of course this one is naturally gluten free. Just make sure that your garlic butter hasn’t been contaminated with bread crumbs from previous uses.
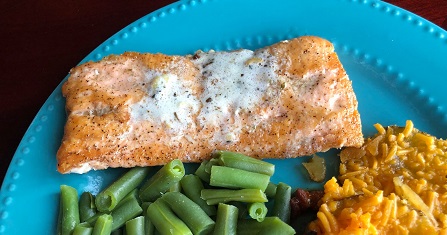
Make it a meal with:
- Baked Potatoes, White Cheddar Shells, or Sweet Potato Casserole
- Steamed Carrots or Broccoli
- Red Lobster Biscuits
- Orange Slices
Salmon (pan seared)
Ingredients
- Salmon Filets
- Salt and Pepper to taste
- Olive Oil
- Garlic Butter (for gluten free, make sure it’s a new tub or not contaminated with old bread crumbs)
- Lemon Juice (optional)
Directions
Place paper towels under and on top of filets, then press out extra water. Season the salmon filets with salt and pepper. Heat a small amount of oil in a heavy pan on medium-high heat. When the oil shimmers, add the salmon filets. Brown the salmon for 2-3 minutes (even with a crust if desired), then flip the salmon. Place a dollop of garlic butter on each salmon filet and let it melt. Squeeze in a little lemon juice over the fish, and spoon the melted butter and lemon juice over each filet before serving.