I’m not a huge fan of sweet potatoes, but my daughter loved them when she was a baby, so I looked up something to use them for Thanksgiving. And wow, this is amazing! I guess technically it’s a side dish, but it’s more of a sweet dessert, with all the butter and brown sugar. Grandma Alice had a similar recipe, so I combined a few elements of hers with the one from Food Network.
If you’re making it gluten free, just replace the regular flour with gluten free flour like Bob’s Red Mill.
Make it a meal with:
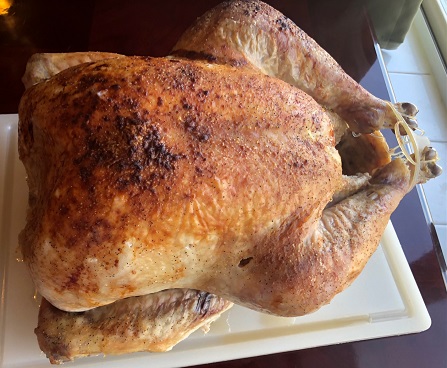
- Turkey, Salmon, or Rotisserie Chicken
- Corn or green salad
- Rolls or French Bread
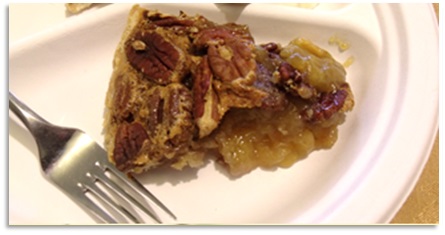
Sweet Potato Casserole

Whether side dish or dessert, it’s perfect for fall and Thanksgiving.
Ingredients
Filling
-
1 3/4 lb. Sweet Potatoes (about 2-3 large), peeled and cubed (or 2 cans, about 3 c.)
-
1/4 c. Melted Butter, plus more for buttering the baking dish
-
1/2 c. Brown Sugar
- 1/2 c. Milk or Evaporated Milk
- 1/2 tsp. Salt
- 1 tsp. Vanilla
- 2 Eggs
Topping
- 1/4 c. Melted Butter
- 1/2 c. Brown Sugar
- 1/2 c. Flour (or 1/2 c. gluten free flour with xanthan gum)
- 1/4 tsp. Salt
- 3/4 c. Chopped Pecans
Directions
For the sweet potatoes: Add 1 3/4 pounds peeled and cubed sweet potatoes to a large pot of salted water. Bring to a boil , then lower to a simmer and cook until the potatoes are very tender, 15-20 minutes. Drain and cool, then mash.
For the filling: Preheat to 350° and butter a 2-quart baking dish (11×7). Whisk together the butter, mashed sweet potatoes, brown sugar, milk, salt, vanilla, and eggs in a large bowl. Transfer to the prepared baking dish.
For the topping: Combine the butter, brown sugar, flour, and salt in a medium bowl until moist and the mixture clumps together. Stir in the pecans. Spread the mixture over the top of the sweet potatoes in an even layer. Bake until mostly set in the center and golden on top, 25-30 minutes. Serve hot.